Saturday, April 21, 2012

chocolate-kiwi-pops

i have been eating healthy and have been desperately searching for a way to get something sweet that would still be somewhat healthy....well i discovered it!

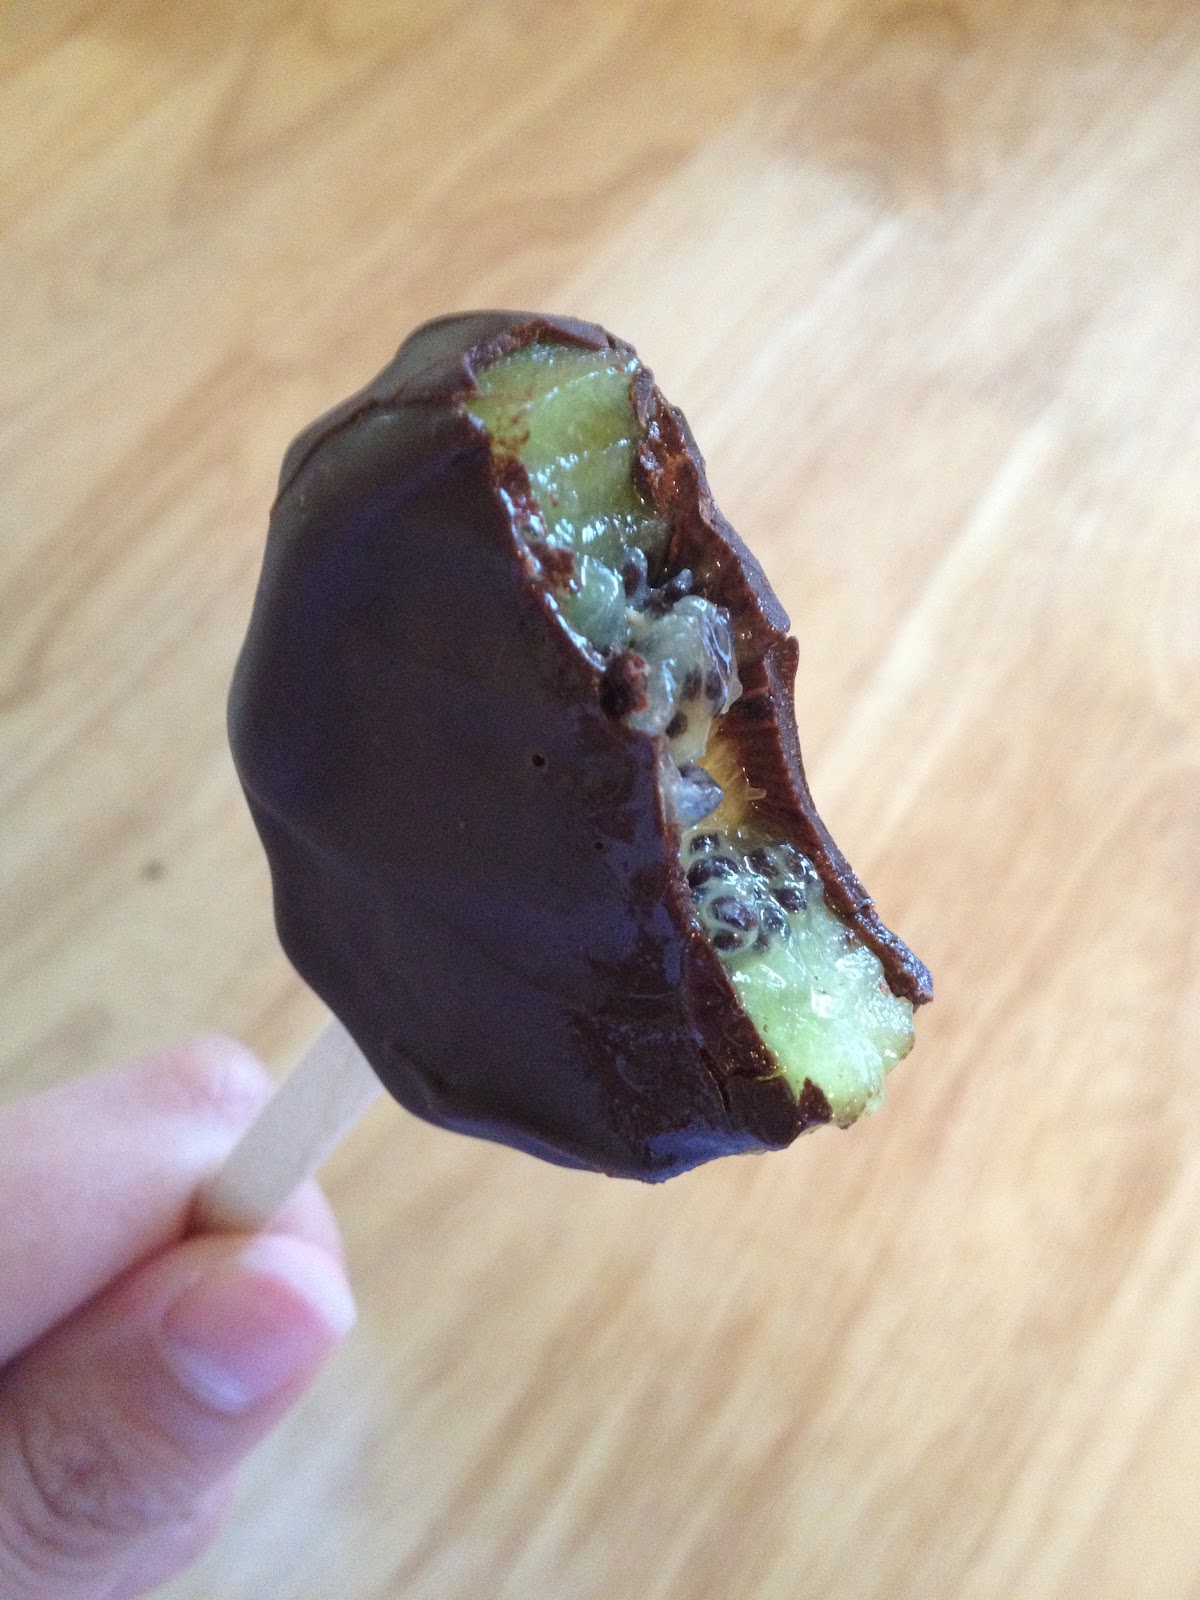
chocolate covered kiwi frozen pops

how to make them yourself:

you will need the following items (or variations of if you desire)


directions:

i cut the peel off the kiwi and then sliced them in thick slices (i got 3-4 slices from each kiwi) i put them on a paper towel to dry them off so the chocolate would stick better

after i dried off the kiwi, i then stuck each piece with one of the wooden sticks

i then melted the chocolate in a bowl in 30 second increments until it was melted completely

after chocolate is melted, i used a spoon to cover the kiwi with chocolate and then stood them up in a glass before putting them in the freezer to cool and the chocolate to harden (you could also lay them on a cookie sheet and put in freezer, but i didn't want one side of them to be flat)

finished product :)  believe me, they are EXTREMELY delicious and a quick, healthy snack!
ENJOY!

Thursday, March 29, 2012

white chocolate / cake batter popcorn

please forgive me as I haven't blogged in a while :)  I promise this one is worth the wait!!!!!!!! 

I introduce to you WHITE CHOCOLATE CAKE BATTER POPCORN! I saw the idea on pinterest of course and needed to make it for myself.

Ingredients:

1 1/2 cups of white chocolate chips
(2) 3.5 oz bags of original microwave popcorn
1/4 cup vegetable shortening
1 cup white cake mix
sprinkles  


Steps:

1. pop bags of popcorn in microwave and pour into big bowl (make sure to pick out all the un-popped kernels)
2. put the white chocolate chips into a microwave safe bowl and melt the chips.  I did this in 30 second increments to prevent burning (took about a minute and a half)
3. mix the vegetable shortening into the melted chips
4. pour in the 1 cup of dry cake mix and stir till the clumps are gone 
5. dump over the popcorn and stir (I did this with my hands and it did get a little messy but you could always stir with a spoon or spatula)
6. sprinkle the sprinkles over the top 
7. let it sit for a while so the whole thing will harden
8. ENJOY!


Saturday, February 11, 2012

apartment tour

i figured i would give you all a tour around my quaint, yet charming apartment. it is QUITE feminine, BUT, i figure that i will only be able to have a place decorated like i want once in my life, so WHY NOT?!?

 i hope it will give me some accountability for some DIY projects that i want to accomplish this year.

living room:
my mom and i made the pillows on the couches (i am hoping to post a DIY blog about those in the future)
the coffee table was also a project that i completed and hope to post about soon!


*the knitted/felted bowls (above and below) are also something i will post about soon.  SUPER easy for even the amateur knitter!

LOVVVE all my vintage pyrex that i have accumulated over the years!!!

entry way:


 kitchen:


 bathroom:

extra bedroom:


master bedroom:

 it feels like i have been on a year long search for a new dresser/cabinet to put this TV on, the black matches NOTHING in my place!

 my mom refinished my dresser.  repainted/covered the fronts of the drawers with wallpaper! LOVE!

one project that i would like to accomplish this year is a headboard.  i have been quite indecisive about whether i want to use an old door or make one myself.


so, there you have it! that is my place.  if you saw something that your interested in knowing where i got it or how i did it, please comment or send me an email!  also, if you have suggestion on how to make it better, DON'T hesitate to offer opinions! it is a constant work in progress and i am ALWAYS changing things around!


dont forget that you can follow the blog via EMAIL now! SOO easy! in the top right hand corner, just put in your email address! :)

emily

Tuesday, February 7, 2012

giveaway WINNER!!!!!!!

i am happy to announce that the winner of the giveaway is..........

Megan Palmatier!!!!!!!


megan, message me on facebook or on here with your address and i will send off the knitted dish cloths to you!!!!


ENJOY!

Saturday, February 4, 2012

cup cozy


i am soooo loving this new cup cozy that i knitted today!  the pattern is super easy, only 2 different stitches!

supplies:

size 7 knitting needles (or any about that size, not significantly larger though because it will be too loose in the end)
yarn (any color or style will do)
needle to weave in ends and sew seam


pattern:

K-knit
P-pearl stitch
k2tog-knit 2 stitches together

cast on 39 stitches
row 1: K1, [p1, k1] to the end
repeat row 1 until piece is about 2" from the beginning

decrease row: K2tog, p1 [k1, p1] to end
next row: [k1, p1] to end
repeat last row every row until piece measures 3" from beginning.

bind off

sew seam and weave in ends


Thursday, February 2, 2012

GIVEAWAY!!!!!!!!!

hey all faithful readers, i am going to do a GIVEAWAY! 

okay, okay, nothing super huge, but none the less, still something FREE! and who doesn't like the possibility to win something FREE!

i am going to give away 4 hand knitted dishcloths (i posted about them here)!!!!!


get yourself in the running:

become a follower of the blog (you can in the top right corner of this page) 
*if you are already, then please disregard*
**also, you cannot "privately" follow the blog, you have to be public, so i can see you in order to enter you in the drawing!**

thats IT!!!!! super simple, i will keep this giveaway open until Sunday night 2/5/2012 at 10pm and then i will announce the winner and mail off your dishcloths!!!
feel free to share this with your friends via facebook or email!

emily <3

Saturday, January 28, 2012

DIY canvas flower tutorial


have an old poster frame / canvas, spray paint, scrapbook paper and mod podge?! well if you do (or want to buy) you can make this adorable flower wall art!

supplies:
scissors
scrapbook paper
post frame or canvas 
mod podge
spray paint

tutorial:

i first started with an old poster frame i had just laying around because i didn't like the picture that was in it anymore.  i took it apart and used what was originally the backing of the frame for my new canvas.  i spray painted with pink spray paint (took several different light, somewhat even coats)
**if you are using a canvas that you bought (under $10 at michael's *use a 40% off coupon to get it for cheaper*) you can leave it white, or spray paint the same way.**

i then raided my scrapbook paper collection and found some paper that all went well together.

with one odd size paper that i had in my collection, i made some templates that i could use to trace the "petals"

i made sure to do them in lots of different sizes so i could have smaller "petals" as well as larger ones.

after cutting the templates, i just went to work on cutting out the "petals" out of all the paper that i had picked out.  this took the longest time, but nothing that a good episode of TV and a glass of wine cant help with :)  after i got quite a few cut out, i started arranging them on my spray painted back.

this is the final layout, before using the mod podge to stick everything down

i used the mod podge to stick the "petals" down and i just used my fingers to smear it onto the paper, but you could use a paint brush (i just didn't have one i wanted to get mod podge on)

this step also was somewhat time consuming, but as in a previous step, you should have your TV and glass of wine to pass the time :)

after i stuck everything down and it dried (not too long, maybe 30 minutes) i had to cut off the few "petals" that went off the edge.


then i simply cleaned the glass and put it back in the frame :) SUPER EASY!

the whole process took about 2 hours and cost me NOTHING because i used things i had around my apartment! i hope you enjoy! :)


Pin It